gggg' day!
before starting, I reviewed 001-003
and here's my 4th dough and new icing

someone said every start of learning modeling is to make a doughnut.
and this is my 4th review.
그루 선생께서,,튜토리얼 리스트 형태로 올리면
시청기록이 계단형태로 훅훅 떨어진다면서
아직까지 포기하지 않은 거 축하한다고 ㅎㅎㅎㅎㅎㅎ
뭐든 끝까지가 어려운거야.
중간에 다른거 하고 싶거든.


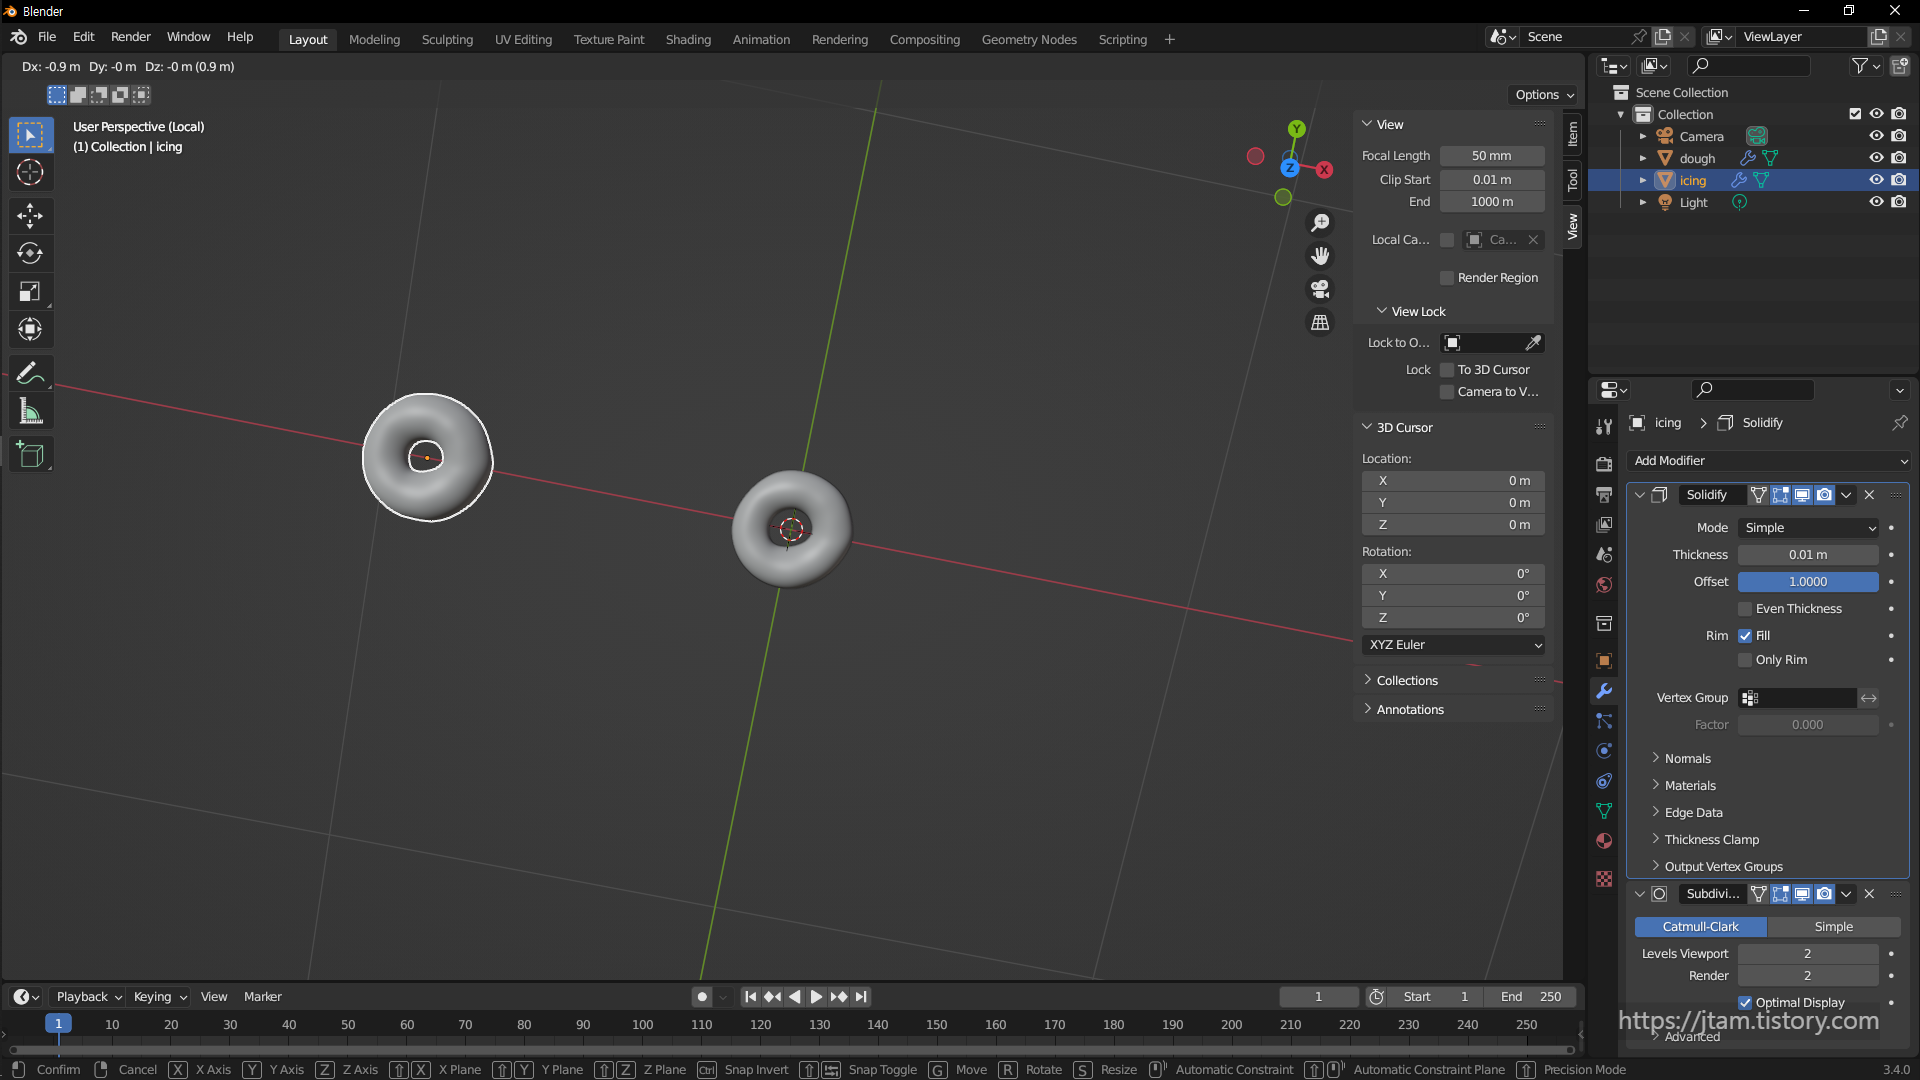
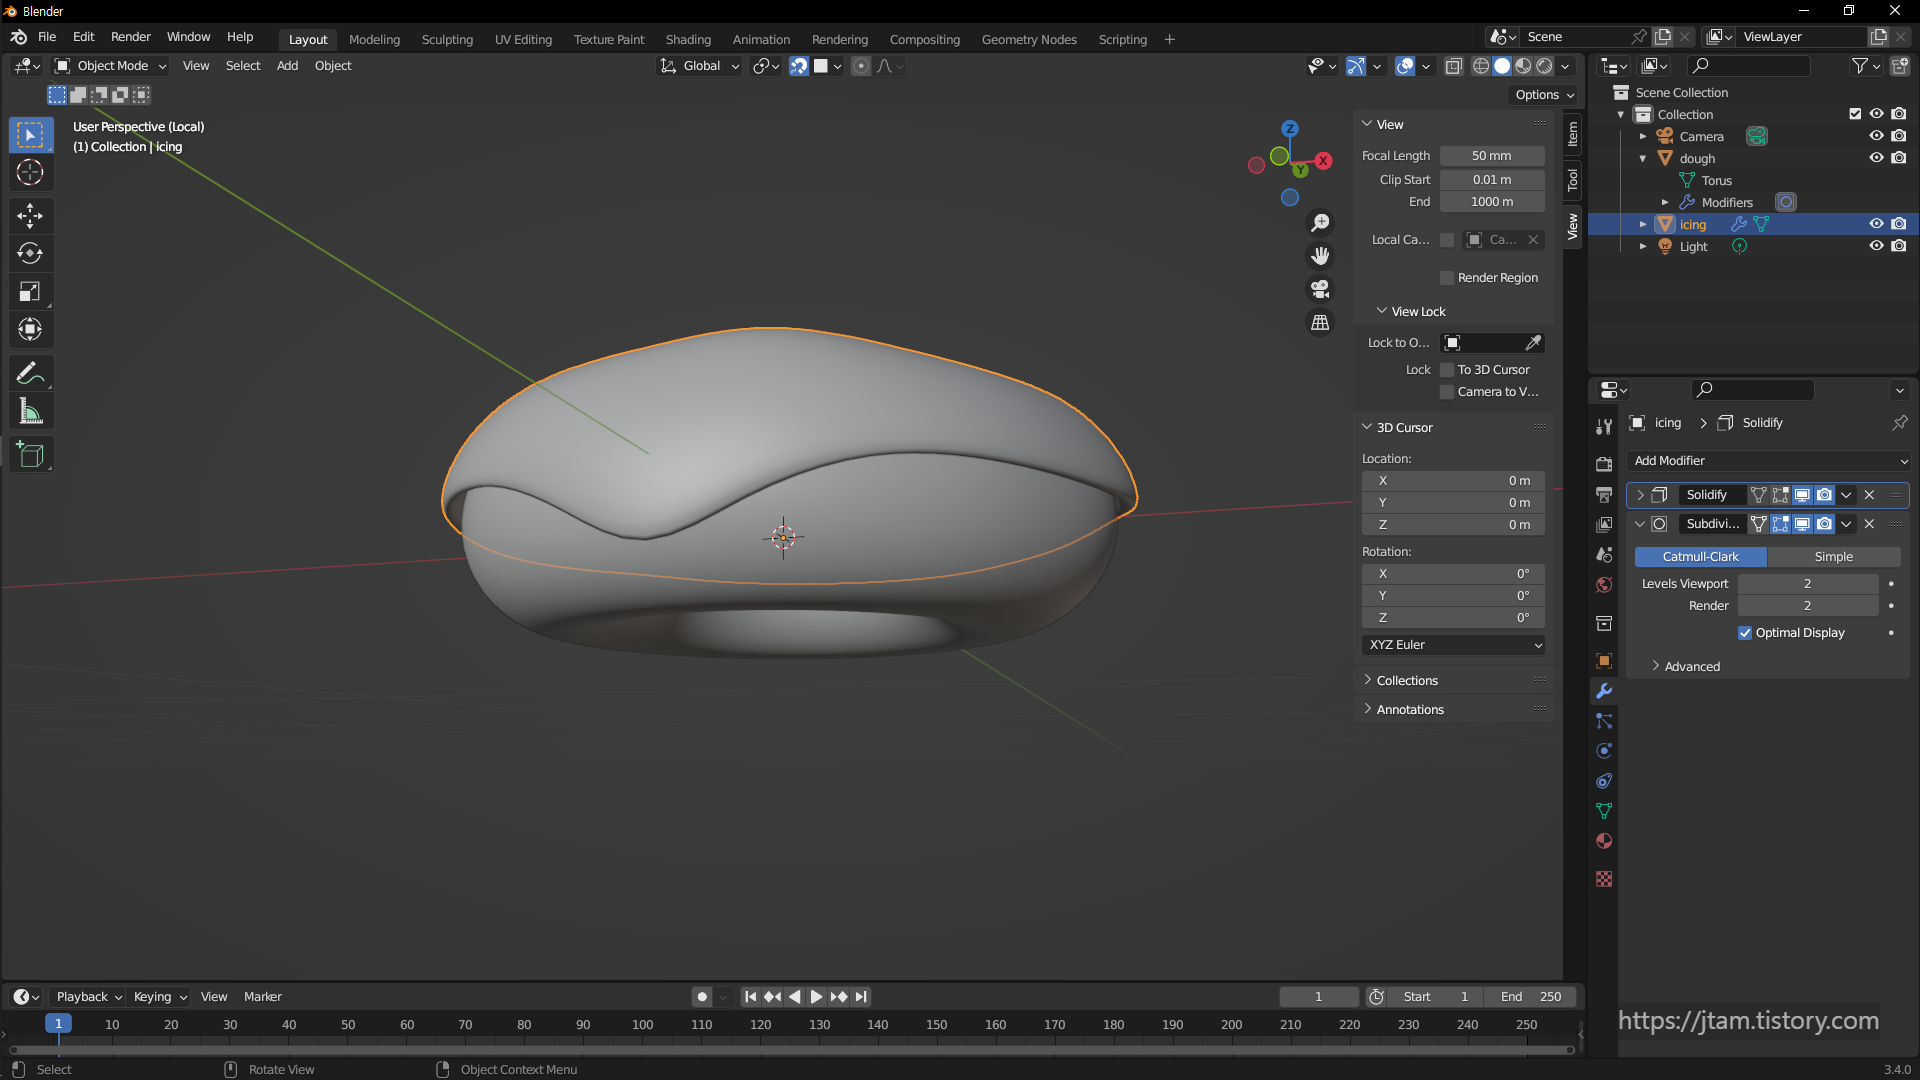
두번쨀 클릭하면
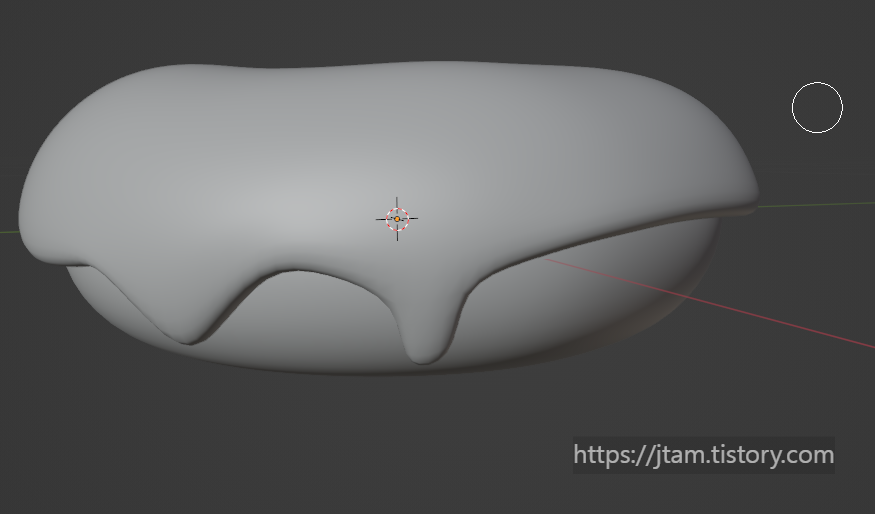
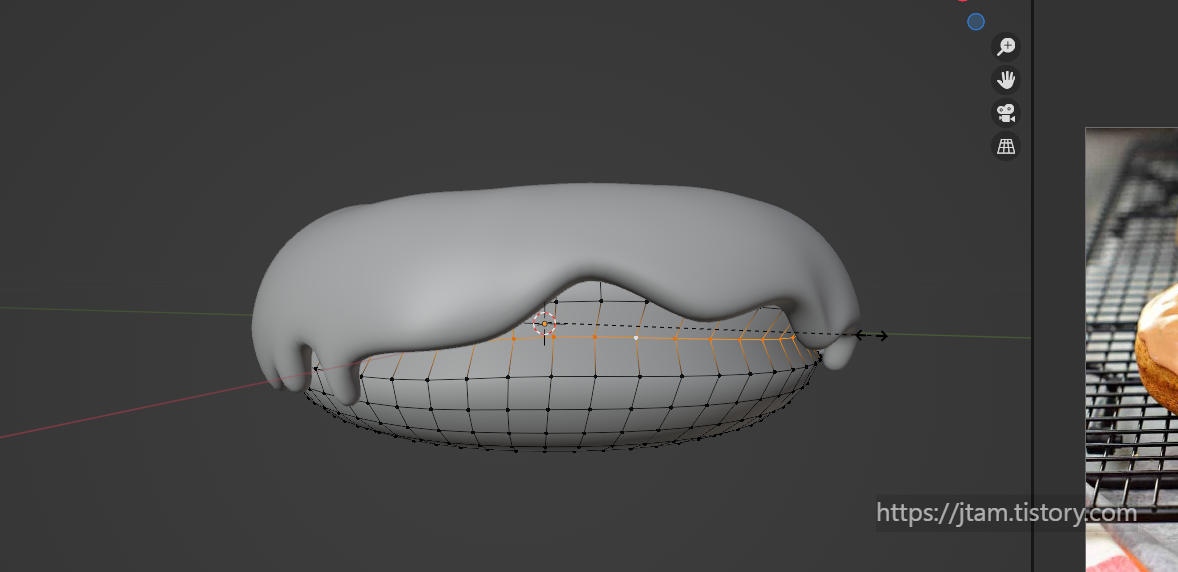
you can turn on off displaying 'modifier'
위에 이미지는 modifer on
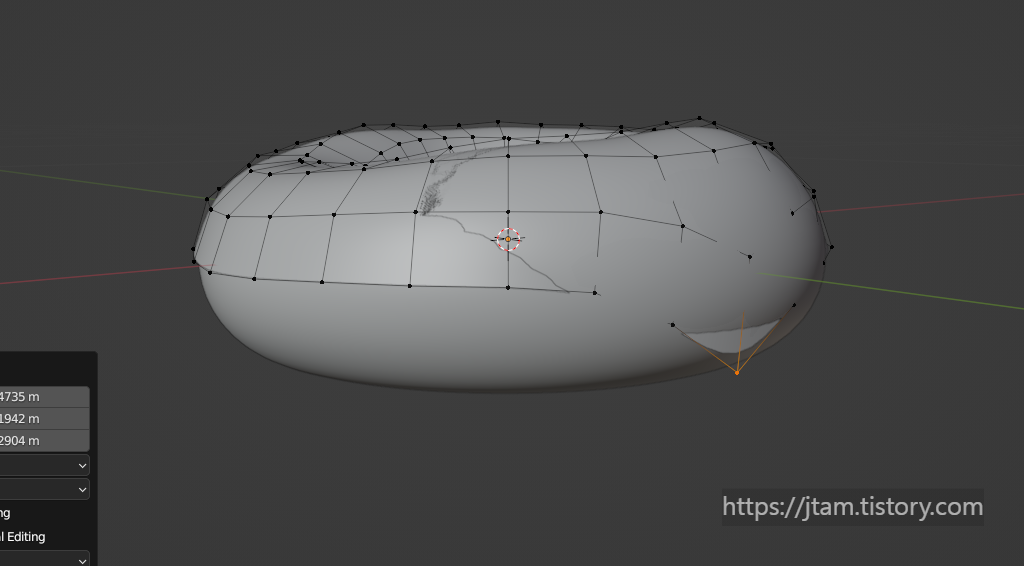
and do 'tab'
you can see this wire frame.

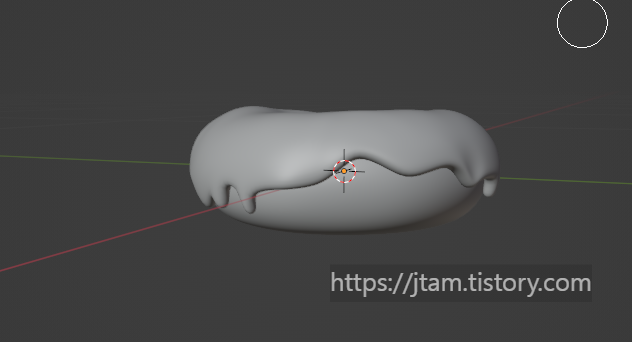
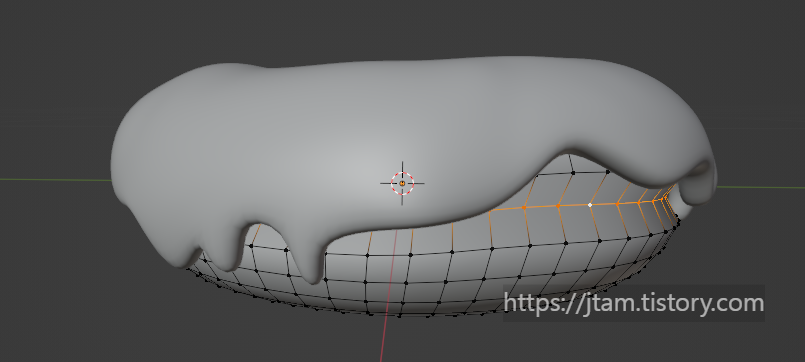
얘는 modifier display off

hit g and "make a little droop a little dribbly bit..."
also hit o for proportional editing
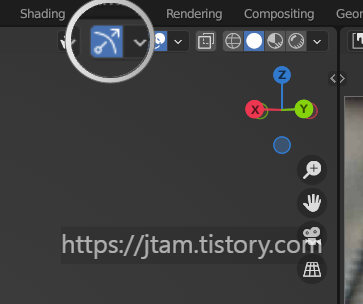
상단의 자석을 켜면
it will snap to the grid,
the ctrl key will always snap everywhere even if you turn the magnetic off..
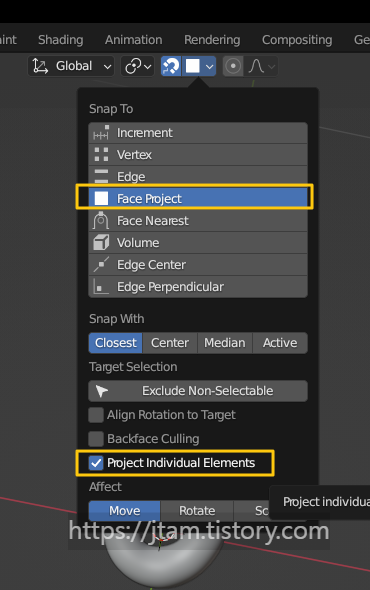
the basic option is increment
and change this to 'face project'
before checking 'project individual element'
after checking the 'project individual element'
표면에 붙어서 움직이게 됨.
click 'tab' to see the shape

like this
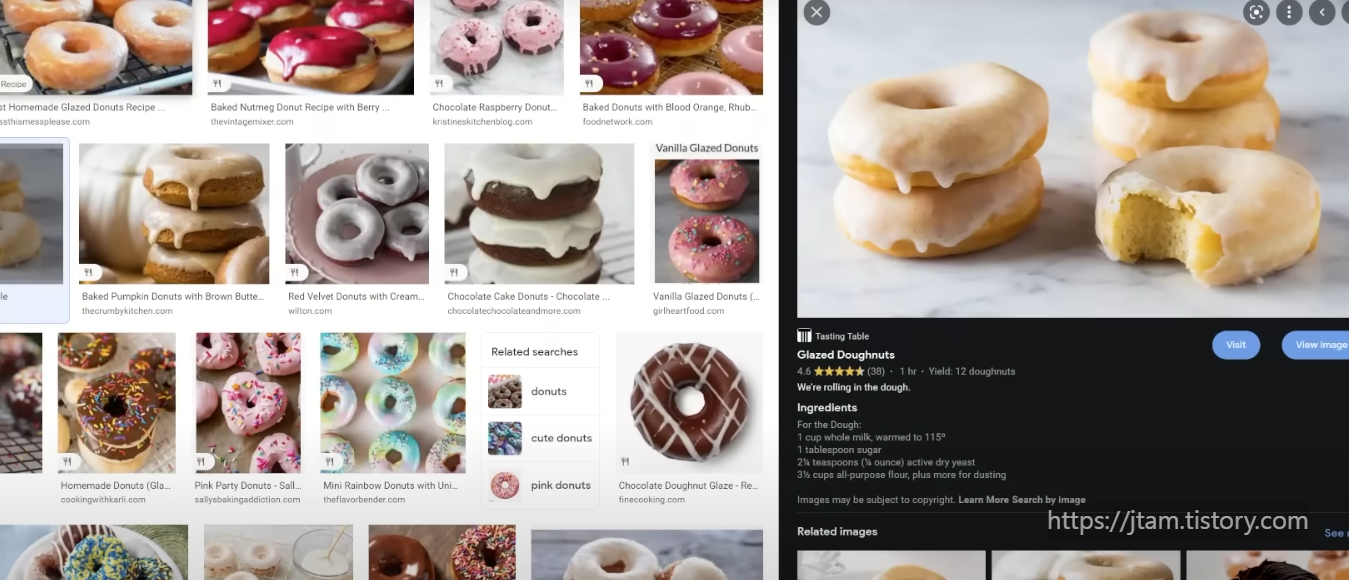
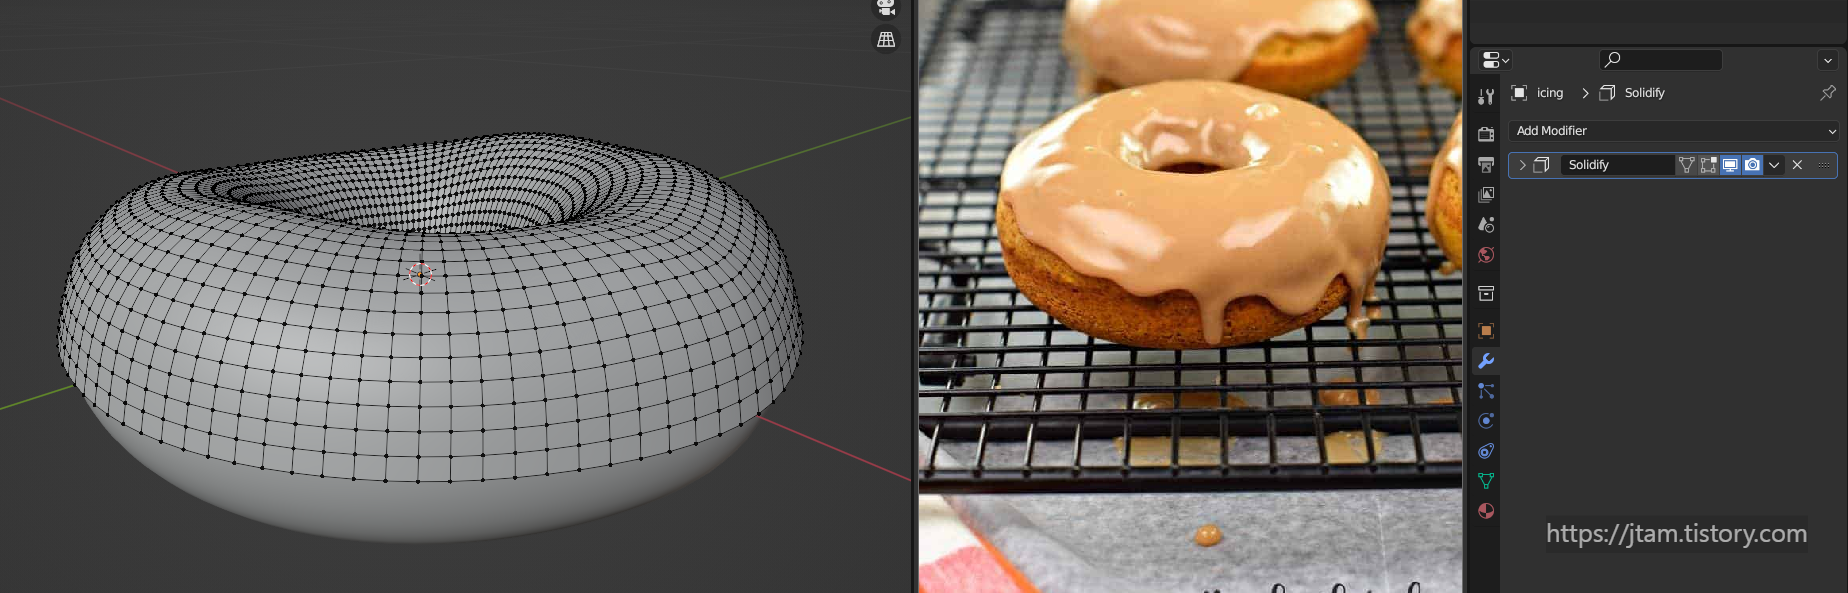
the best way to make a real look like a donut is to get a reference.
뷰어 갈리지는 곳 상단에 커서를 대면 십자가 모양으로 가라질 때 드래그 하면 이렇게 화면이 분할 됨.
우연치 않게 좌우 바꾸는 것도 했는데 어찌하는지 모르겠.
여튼 이미지모드로 바꾸고 레퍼런스 풀러오기 가능.
상상한 것과 실제 형태는 늘 다르므로,, 언제나 레퍼러스를 활용하자 by 구루님
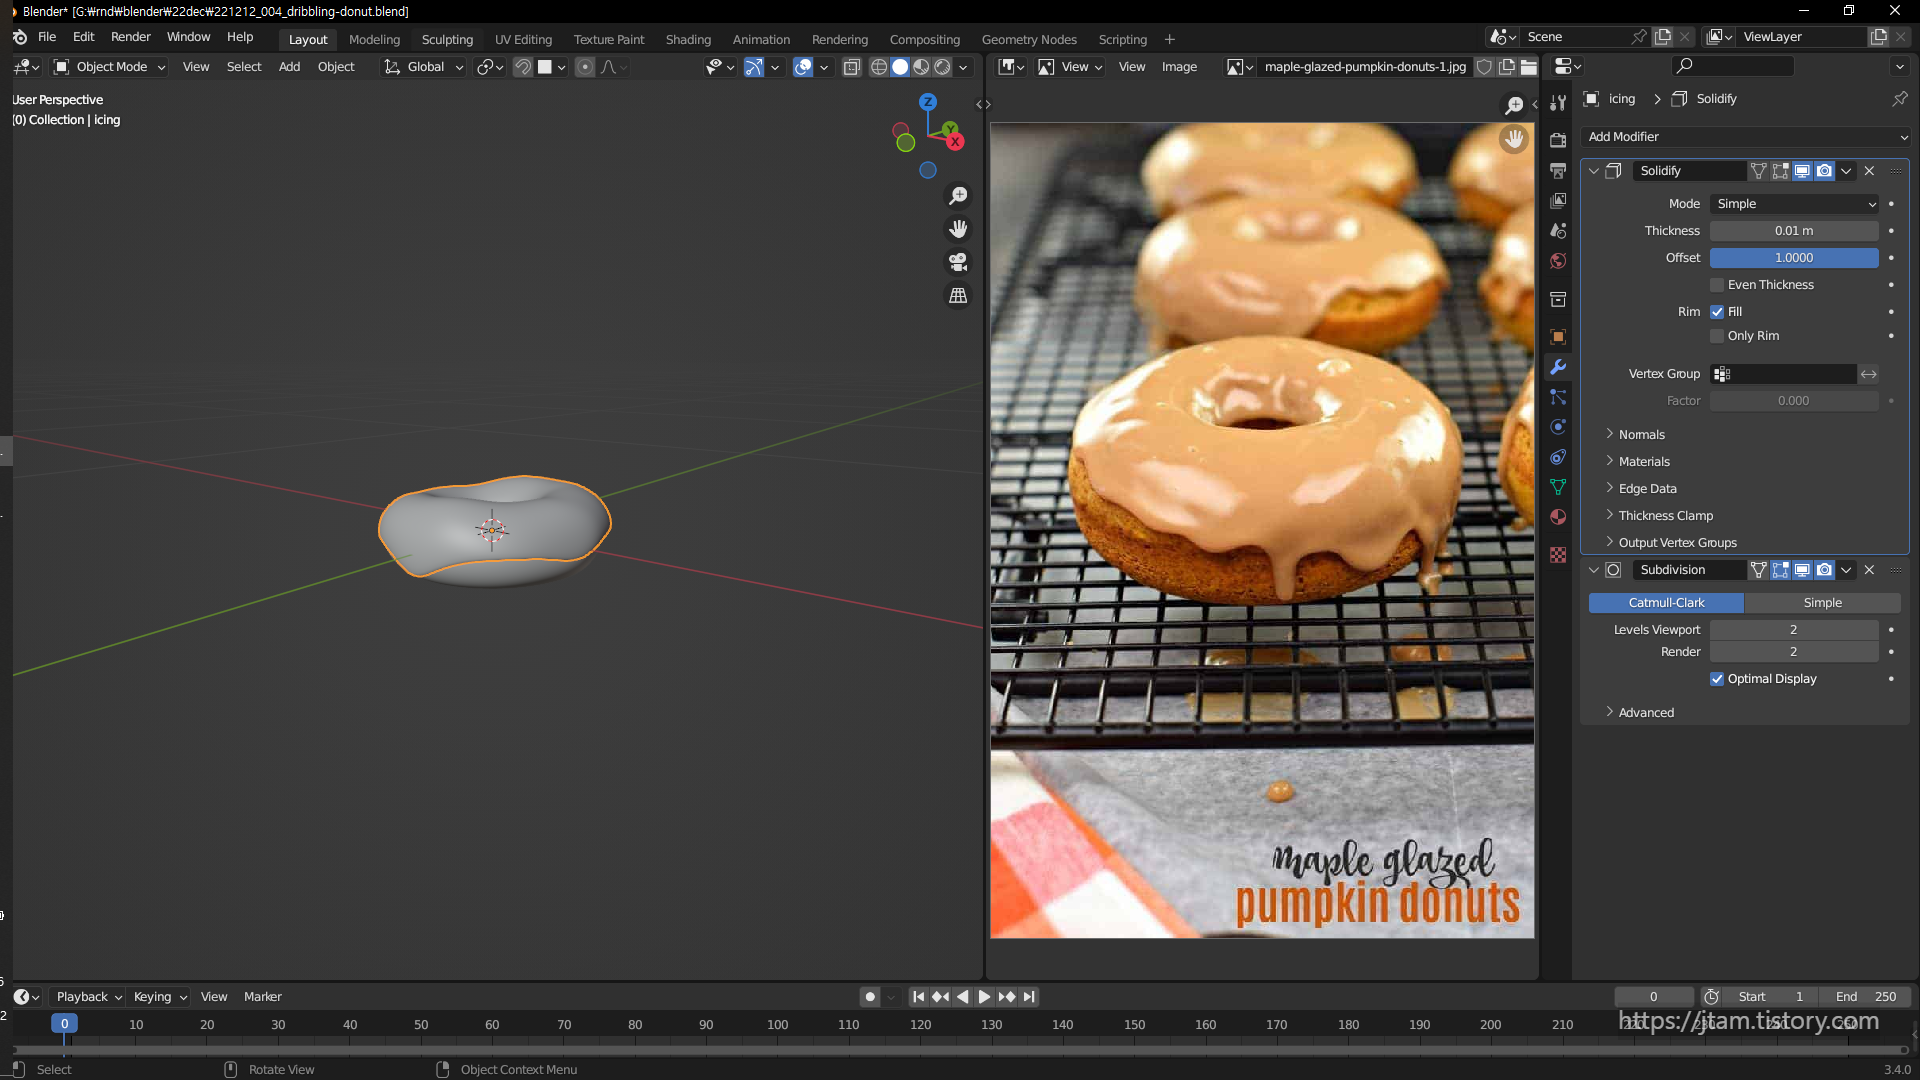
but it is kind of tough to follow the detail so we will make more subdivision.
so put the subdivision top of the solidify menu
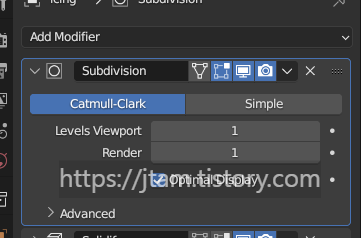
in the icing put the subdivision on the top,
put the level back to one, and hit ctrl-a; to apply
h ; hide
ctrl h; turn on again
the vertices got more detailed,
and you can now turn on the subdivisioin surface on the bottom
for smoothing it back.
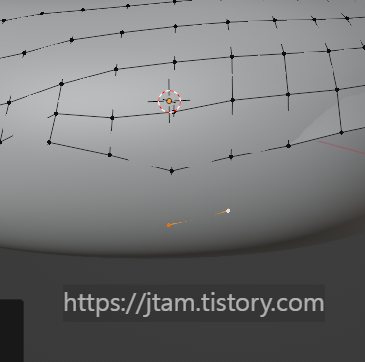
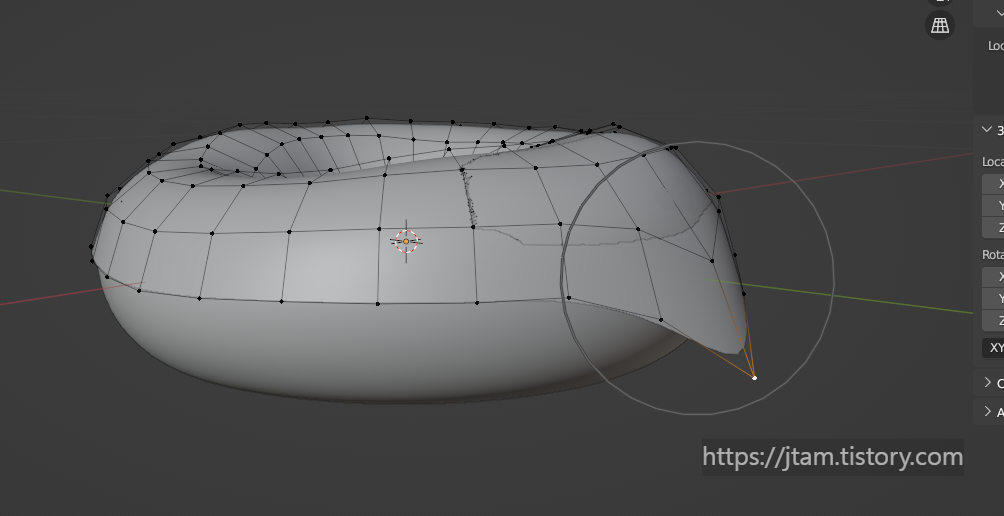
if you need extra drop
choose 2 to 3 vertices and hit 'e' to extrude
like this
after finishing this
we are going to make the dough part have some shape on the waist of the doughnut.
hit subdivision applied to the dough.

only levels viewport will be applied,
so turn it to 2 > 1 again and hit apply
or control a; to apply
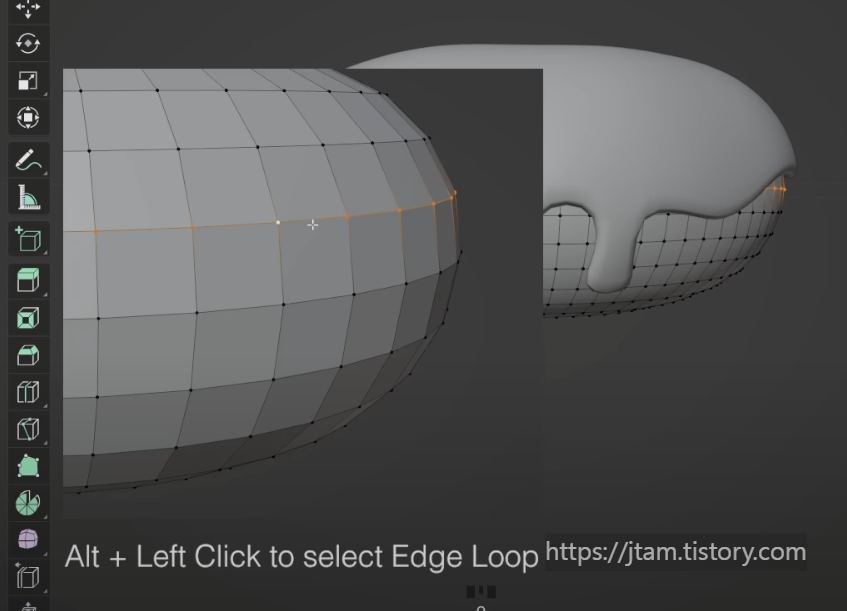
alt left click ; to select edge loop
alt left and click you will see the vetical loop first,
so click the right side vertex to make it horizontal.
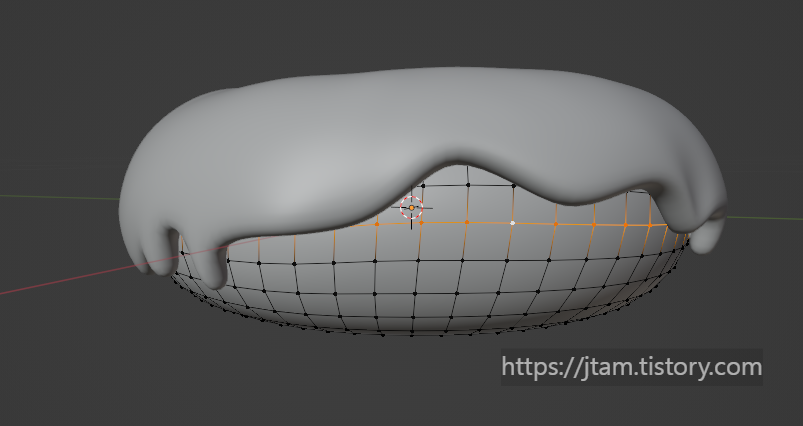
turn off the snap or o,
hit s and move to make the vertical direction
to make like this.
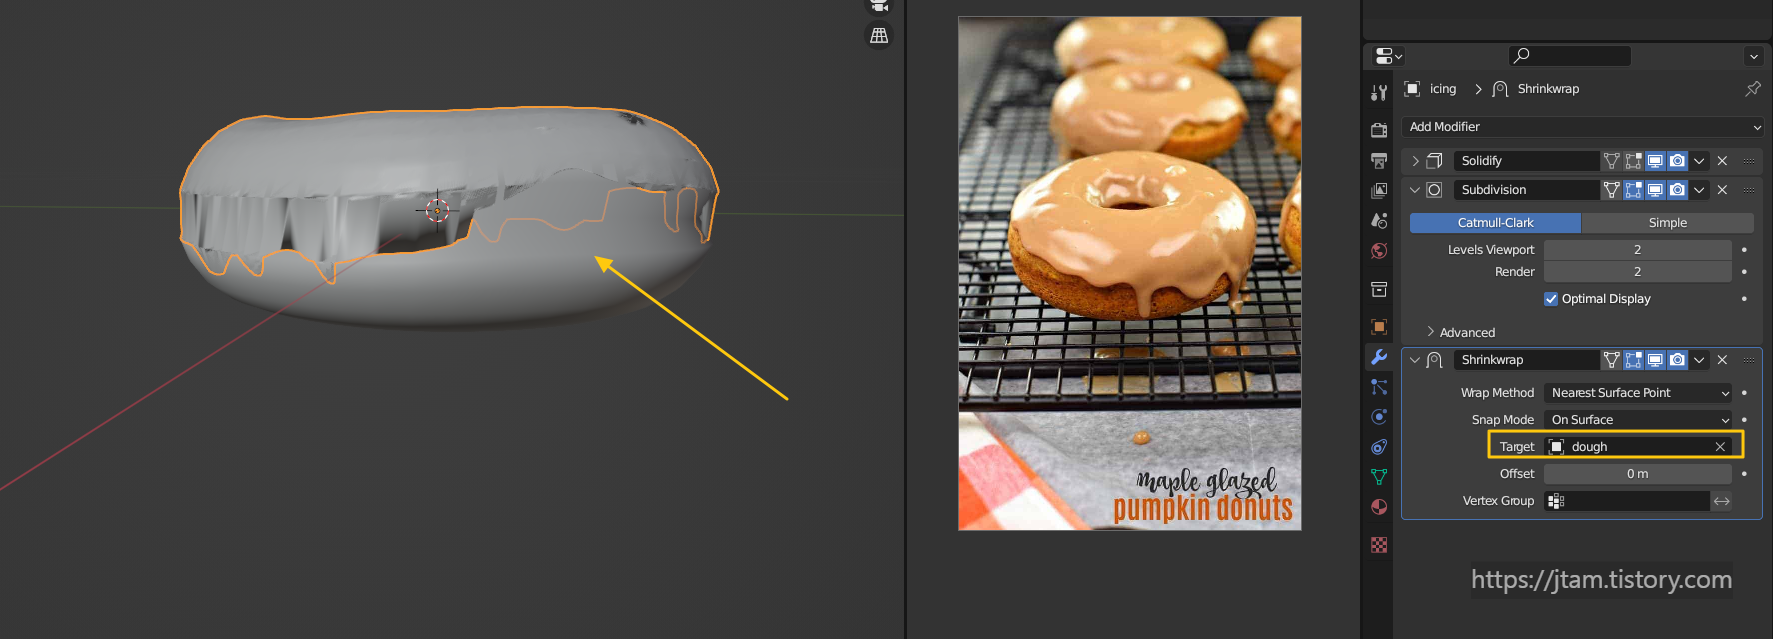
now we move our step to the icing,
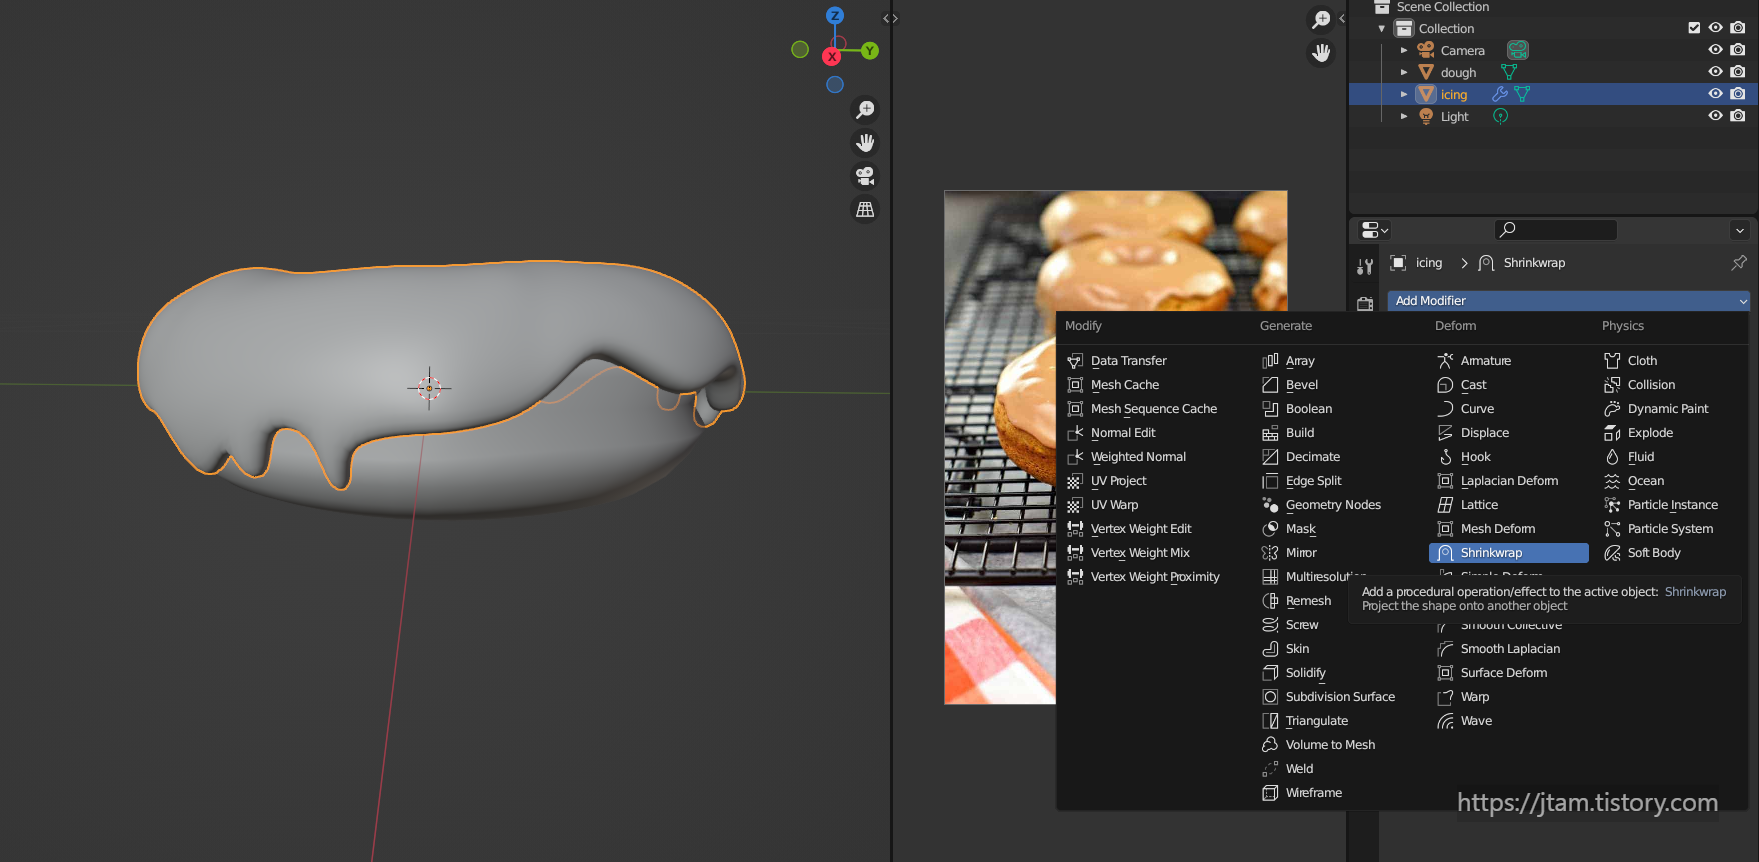
turn on the shrinkwrap
shrinkwrap :
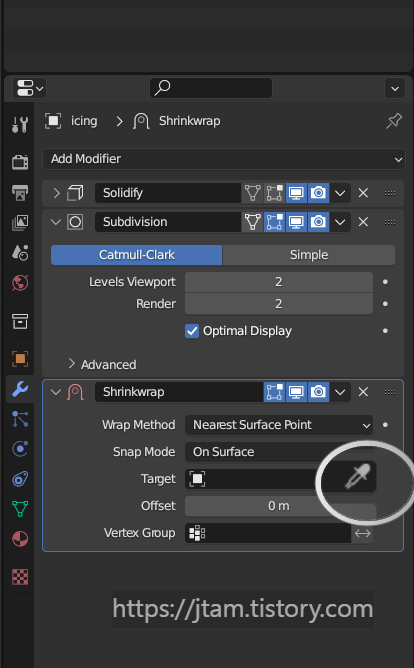
click this and select the target.
then the target(the target that you want the object to be snapped in)
will snap to the other object.
which means... the icing will be snapped to the doughnut!

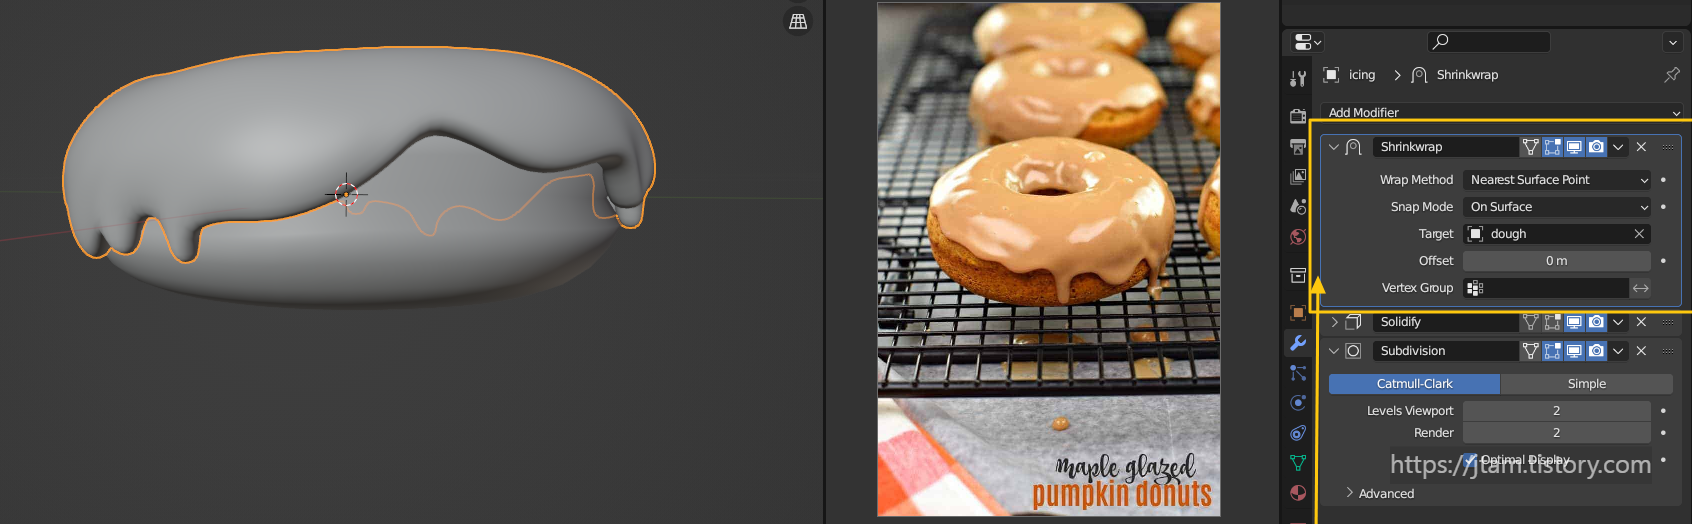
move the shrinkwrap to the top.
click the screenlike icon and you can on/off the modified version.
same way you can make more detail on the donut shape
based on the reference..
final:
my file:
ㅇㅗㄴㅡㄹㅇㅡㄴ ...fking hangle.

gksrmf dho wkRn dofjskqslek...
Blender Beginner Tutorial Part 4: Modelling
https://www.youtube.com/watch?v=R1isb0x4zYw&list=PLjEaoINr3zgFX8ZsChQVQsuDSjEqdWMAD&index=4
'sw > blender' 카테고리의 다른 글
| blender005_ sculpting (0) | 2022.12.14 |
|---|---|
| blender004_review (0) | 2022.12.13 |
| blender003_icing and the dough (0) | 2022.12.09 |
| blender001-002_ adding more tips and reviews (0) | 2022.12.08 |
| blender q; render camera zoom in and out (0) | 2022.12.08 |


